
How to Perform the D-Link DAP-2680 Setup Proficiently?
The D-Link range booster is one of the most preferred and feature-rich networking devices. These devices can extend the existing signal range and eliminate dead spots inside your home. However, the D-Link DAP-2680 Setup is mainly performed to enhance the capabilities of your existing wifi network and broadcast an extended wireless signal.
If you are interested in learning the stepwise instructions for this configuration process, then read this guide thoroughly. Herein, you will not only get deeper insights into the D-Link DAP-2680 Configuration process but also help you to configure your device as an access point. To explore further, let’s start reading!
Getting Started With the D-Link DAP-2680 Setup
Before you initiate the setup process of the D-Link DAP- 2680, you must have certain essentials. These things may include a stable internet connection, accurate login credentials, computer, etc.
After that, you must know the proper procedure to perform this configuration process. Generally, you can configure your D-Link extender in three ways, i.e., via web browser, WPS button method, and via the app. If you own this device and want to perform its initial setup, then have a closer look at the below instructions:
D-Link DAP-2680 Configuration: Step-by-Step Procedure
As mentioned above, there are three ways to configure the DAP-2680 range boosters. But, the web GUI is one of the most preferred ways to perform the D-Link DAP-2680 Setup. Before that, you must install your repeater. So, refer to the below instructions for a complete procedure.
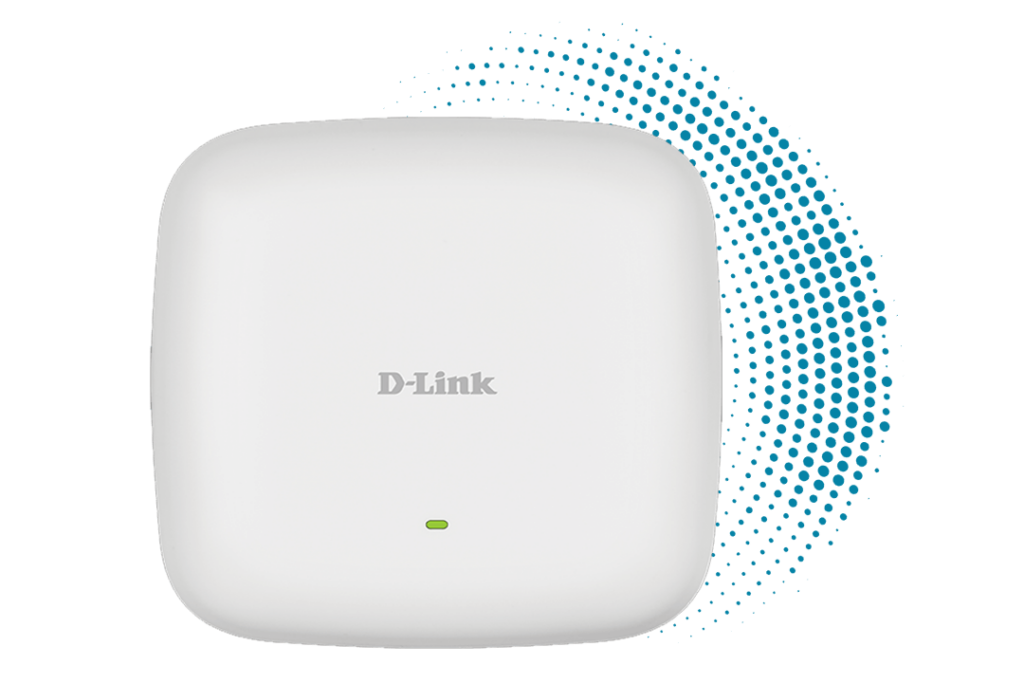
Step 1: Installation of the D-Link DAP-2680 Extender
- To begin with, unpack your range extender.
- Check the package contents and match it with the QIG.
- Then, collect the mounting & ceiling brackets, anchors, ethernet cable, CD-ROM, etc.
- After that, find a suitable place to position your range extender.
- Make sure you place your networking device 4 ft. above the ground level.
- Now, mark and drill the holes in the ceiling and wall.
- Then, attach the mounting bracket to the wall or ceiling and insert wall anchors.
- Hereon, plug the ethernet cable into the ethernet port of the extender.
- Next, attach your DAP-2680 extender to the mounting bracket and slide it down.
- After that, plug your range extender into a power source and turn it on.
- Lastly, check the LED indicators to ensure the device is powered on.
- Thus, the installation procedure of DLink DAP-2680 finishes here.
Step 2: D-Link DAP-2680 Setup via the Web Browser
- Firstly, connect your computer and extender to the same wifi network.
- Now, open any web browser on your computer.
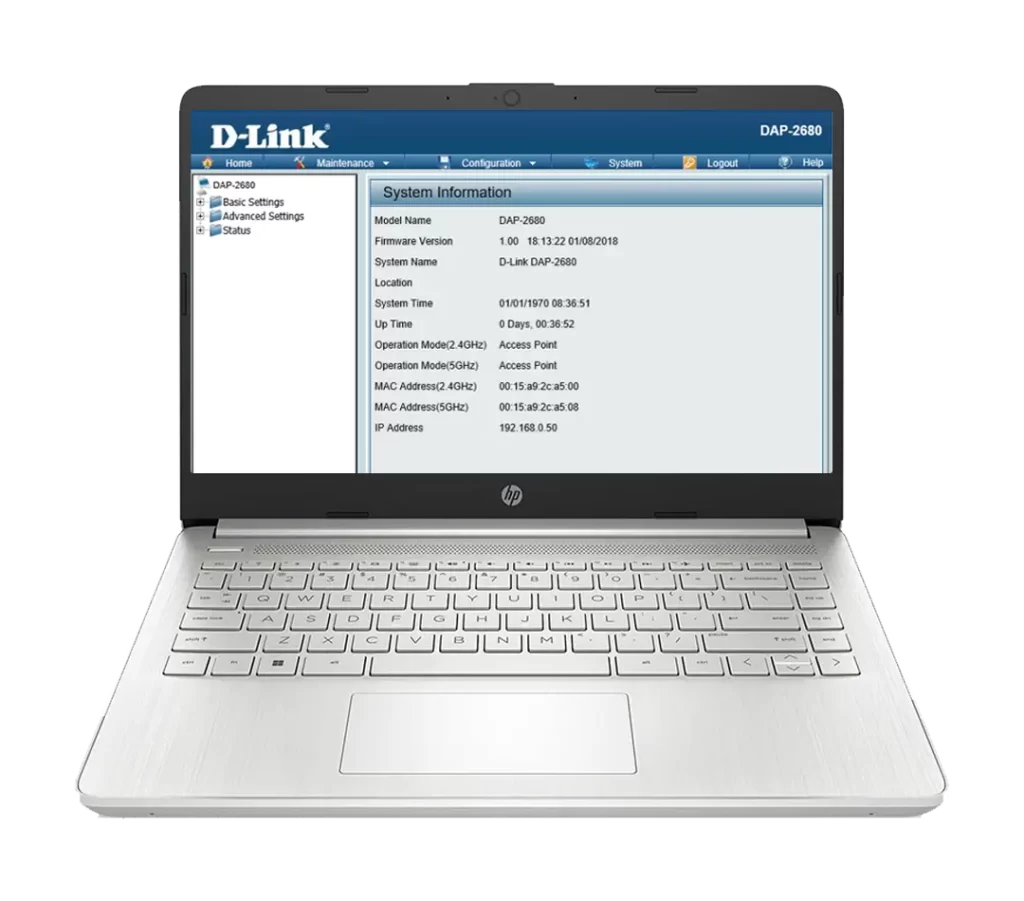
- Then, enter the 192.168.0.50 IP address in the browser bar.
- Next, the login page of the D-Link extender opens to you.
- Hereon, mention the default admin credentials and hit ‘Login’.
- Then, you reach the setup wizard of your range extender.
- Now, navigate to Basic Settings>Wireless and customize the wifi name & password.
- Before that, select either the 2.4 GHz or 5GHz band, compatible with your device.
- Similarly, visit the other tabs under Basic Settings and then Advanced Settings to configure further settings.
- After configuring the required settings, tap ‘Save’ to apply these settings.
- Finally, the D-Link DAP-2680 Configuration finishes here.
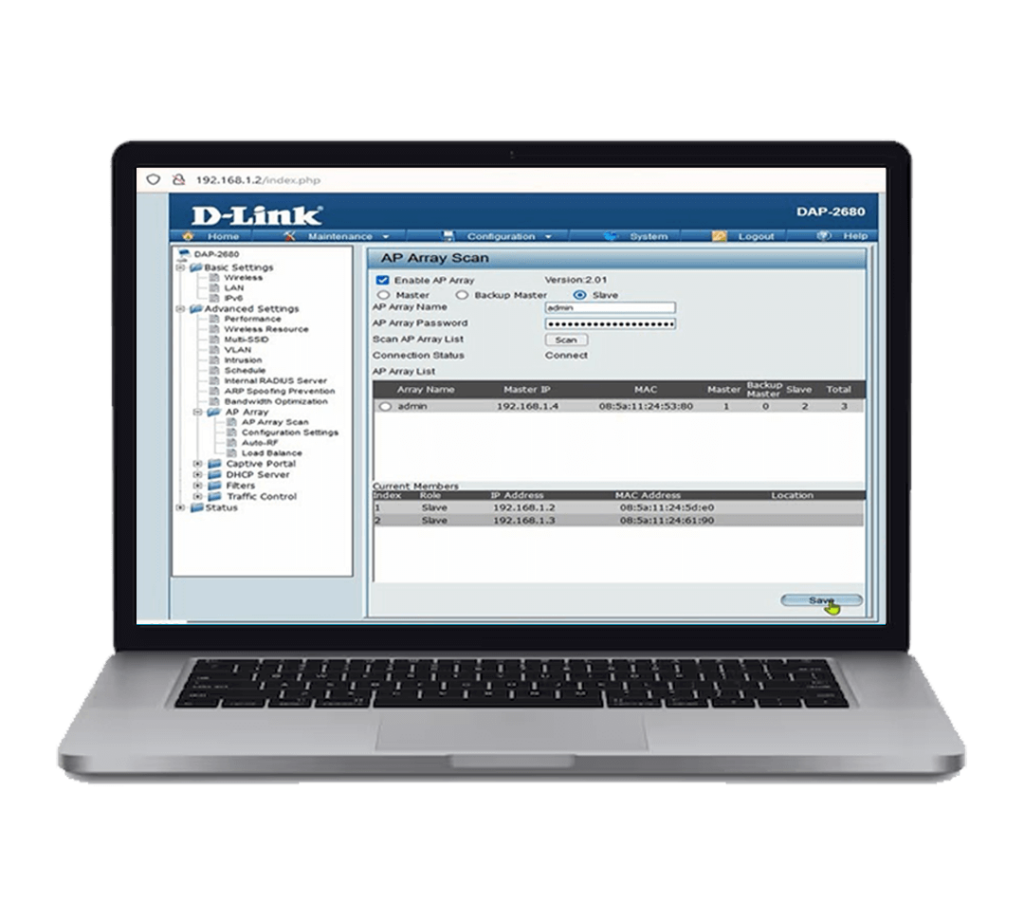
Can I Configure the D-Link DAP-2680 Access Point on the Web Browser?
Indeed, the user-friendly web interface of the DAP-2680 extenders allows users to access their devices in different modes. However, you can access and configure your range extender as an access point, wireless client, WDS, and WDS with the access point. If you want to configure D-Link DAP-2680 Access Point settings, then follow the below steps:
- Firstly, log into your D-Link DAP-2680 web interface using valid credentials
- After that, you reach the web GUI of the extender.
- Hereon, navigate to the Basic Settings from the left-hand side.
- Then, hit ‘Wireless’ under the Basic Settings.
- Further, select ‘Access Point’ from the ‘Mode’ drop-down menu.
- Then, configure the other wireless settings as per your choice.
- At last, tap the ‘Save’ option to implement these modified changes.
- Finally, you’re now able to use the DAP-2680 extender as an access point.

All in all, this guide elaborates on the D-Link DAP-2680 Setup procedure in a detailed manner to enjoy an extended wifi network at home. If you want professional assistance in this configuration, reach out to our experts in the chat box!
Frequently Asked Questions
By default, the username for the D-Link DAP-2680 is ‘admin’ and the password field is left blank.
No, you can’t use the DAP-2680 repeater as a standalone wireless router. But, it can act as a wireless access point.
If you forget the default password for the D-Link DAP-2680 extender, then, reset your device via the reset button and access your device using default admin details.